
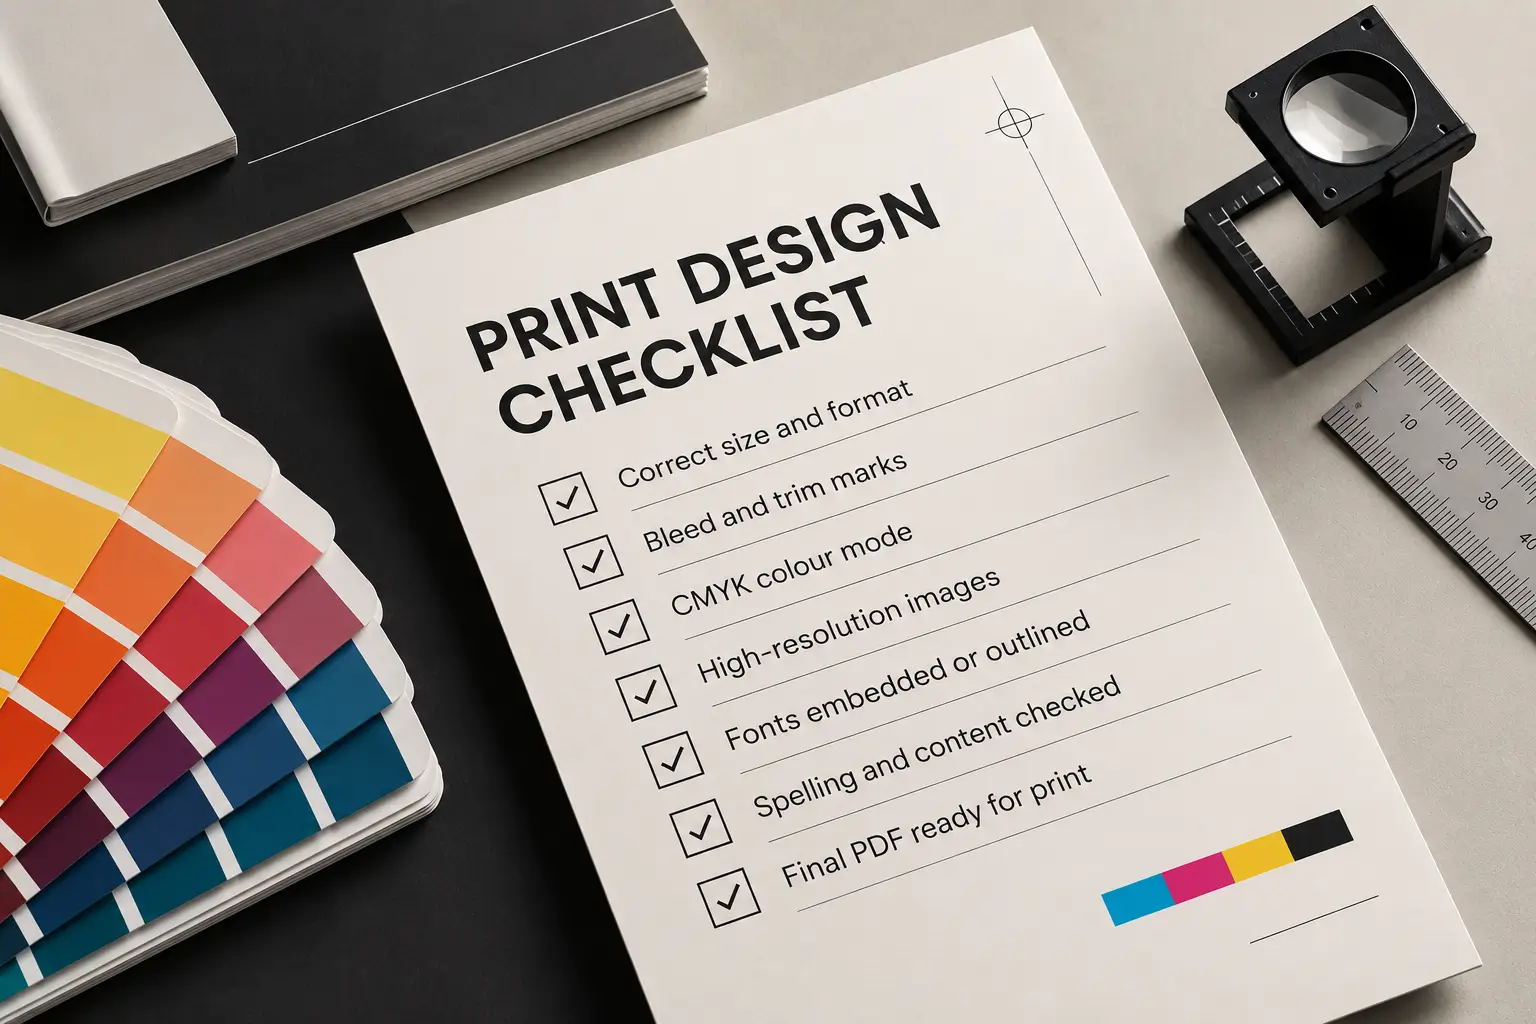
When embarking on a print design project, the first step is to confirm your project specifications. This foundational stage is crucial, as it sets the tone for the entire design process. You need to gather all relevant information about the project, including the purpose of the print material, the target audience, and any specific requirements from the client or stakeholders. Understanding these elements will help you tailor your design to meet expectations and achieve the desired impact.
Moreover, it is essential to clarify the scope of the project. Are you designing a brochure, a poster, or perhaps a business card? Each format has its own set of specifications that must be adhered to. You should also consider the quantity of prints required, as this can influence decisions regarding materials and printing techniques. By meticulously confirming these details at the outset, you can avoid costly revisions and ensure a smoother workflow as you progress through the design stages.
Print Design Checklist: Choosing the Right Paper and Finish
Selecting the appropriate paper and finish is a pivotal aspect of print design that can significantly affect the final product’s look and feel. The choice of paper should align with the project’s purpose and audience. For instance, if you are designing a high-end brochure for a luxury brand, opting for a thicker, textured paper can convey quality and sophistication. Conversely, a lightweight paper may be more suitable for mass-distributed flyers where cost-effectiveness is paramount.
In addition to paper type, you must also consider the finish. Options such as matte, glossy, or uncoated finishes can dramatically alter the visual appeal of your design. A glossy finish can enhance colours and provide a vibrant look, while a matte finish offers a more subdued and elegant appearance. It’s important to weigh these choices carefully, as they not only affect aesthetics but also influence how your design interacts with light and texture. By thoughtfully selecting both paper and finish, you can elevate your print project and ensure it resonates with its intended audience.
Print Design Checklist: Setting Accurate Dimensions and Bleed
Setting accurate dimensions and bleed is another critical step in preparing your print design. Each print project comes with specific size requirements that must be adhered to in order to ensure that your design fits perfectly within the intended format. Before you begin designing, it’s wise to confirm the final dimensions with your printer or client. This will help you avoid any last-minute surprises that could derail your project.
Bleed is equally important in print design. It refers to the area that extends beyond the trim edge of your design, ensuring that there are no unprinted edges when the final product is cut down to size. Typically, a bleed of 3mm is standard in most print projects. By incorporating bleed into your design from the outset, you can prevent any unsightly white borders from appearing on your finished piece. Taking these technical aspects into account will not only enhance the professionalism of your work but also streamline the printing process.
Print Design Checklist: Selecting Appropriate Colour Modes and Profiles
Colour plays a vital role in print design, and selecting the appropriate colour modes and profiles is essential for achieving accurate results. The two primary colour modes used in print are CMYK (Cyan, Magenta, Yellow, Black) and RGB (Red, Green, Blue). While RGB is suitable for digital displays, CMYK is specifically designed for print applications. Therefore, it’s crucial to ensure that your design is created in CMYK mode to avoid any discrepancies in colour reproduction during printing.
In addition to colour modes, you should also consider colour profiles. These profiles help manage how colours are represented across different devices and media. Using an appropriate ICC profile can ensure that what you see on your screen closely matches what gets printed. It’s advisable to consult with your printer regarding which profiles they recommend for their equipment. By paying attention to colour modes and profiles, you can achieve vibrant and accurate colours that enhance your overall design.
Print Design Checklist: Ensuring High-Resolution Images and Graphics
The quality of images and graphics used in your print design can make or break the final product. Ensuring that all visual elements are high-resolution is paramount for achieving crisp and clear prints. Typically, images should be at least 300 DPI (dots per inch) for optimal quality in print. Low-resolution images may appear pixelated or blurry when printed, detracting from the overall professionalism of your work.
When sourcing images, always opt for vector graphics whenever possible, as they can be scaled without losing quality. If you must use raster images, ensure they are sourced from reputable stock libraries or created at high resolutions. Additionally, consider how images will interact with other design elements; they should complement rather than overwhelm your layout. By prioritising high-resolution images and graphics, you can create visually stunning designs that leave a lasting impression on your audience.
Print Design Checklist: Checking Fonts and Text Elements
Fonts and text elements are integral components of any print design project, and ensuring their accuracy is essential for effective communication. Begin by selecting fonts that align with your brand identity and resonate with your target audience. Consider factors such as readability and style; for instance, serif fonts often convey tradition and reliability, while sans-serif fonts tend to appear modern and clean.
Once you have chosen your fonts, it’s crucial to check for consistency throughout your design. Ensure that font sizes, weights, and styles are uniform across headings, subheadings, and body text. Additionally, pay attention to kerning (the space between letters) and leading (the space between lines), as these elements can significantly impact readability. Finally, proofread all text elements meticulously to catch any spelling or grammatical errors before sending your files to print. By focusing on fonts and text elements, you can enhance both the aesthetic appeal and clarity of your design.
Print Design Checklist: Reviewing Layout and Proofing for Errors
A thorough review of your layout is essential before finalising any print design project. This stage involves scrutinising every element of your design to ensure that everything aligns correctly and adheres to your initial specifications. Check margins, spacing, and alignment to create a balanced composition that guides the viewer’s eye through the content seamlessly.
Proofing is another critical aspect of this stage. It’s advisable to create a physical proof or mock-up of your design to assess how it will look in its final form. This allows you to identify any potential issues that may not be apparent on-screen, such as colour discrepancies or layout problems caused by different printing processes. Additionally, consider seeking feedback from colleagues or clients during this stage; fresh eyes can often spot errors that you may have overlooked. By diligently reviewing your layout and proofing for errors, you can ensure that your final product meets both aesthetic standards and functional requirements.
Print Design Checklist: Preparing Final Files for Print Submission
The final step in your print design checklist involves preparing files for submission to the printer. This process requires careful attention to detail to ensure that all specifications are met before sending off your work. Begin by double-checking that all elements are correctly formatted according to the printer’s guidelines—this includes file type (usually PDF), colour mode (CMYK), resolution (300 DPI), and bleed settings.
Additionally, it’s wise to include crop marks in your final files to guide the printer during cutting. If applicable, consider embedding fonts or converting them to outlines to prevent any font-related issues during printing. Finally, conduct one last review of your files before submission; this final check can save you from potential headaches down the line. By meticulously preparing your final files for print submission, you can ensure a smooth printing process and bring your creative vision to life with confidence.